
Shetland Islands · Scotland
Bathroom & kitchen resealing in Brae, Shetland Islands
Professional bathroom resealing in and around Brae, with every bit of old sealant taken out first and a one-year guarantee.
- Two layers of silicone, both failing
- Black mould in the silicone that will not clean off
- Damp behind the bath or under the tray
DIY sealant or a professional job?
Too much sealant is as bad as too little. A heavy bead looks messy and copes badly with movement, and getting the depth right matters as much as the look.
If you’re set on DIY, put the effort into preparation: take out all the old sealant, make sure the joint is clean and dry, and give it the full cure time. If it fails, we can still redo it.
About our bathroom resealing in Brae
The secret of a lasting bead is the preparation. The old sealant is removed to the last smear, after which the joint is degreased and any mould treated. New silicone goes on only when the joint is fully dry. Common call-outs are for shrunken sealant along the back of a worktop and gaps where the bath or tray has moved, across kitchen worktops & upstands, basins & vanity units and wet rooms.
Being further from a city does not change the work: everything old is cut out, the joints are cleaned and dried, and new sealant or grout goes in. We just plan the journey and access beforehand.
You are covered for a year from the day we finish. If anything isn’t right with it, send an email to info@mrmastic.co.uk.
- Place
- Brae (ZE2)
- Region
- Shetland Islands
- Guarantee
- A year, on every job
- Quote
- A clear quote up front
- info@mrmastic.co.uk
- Updated
- 26 October 2026
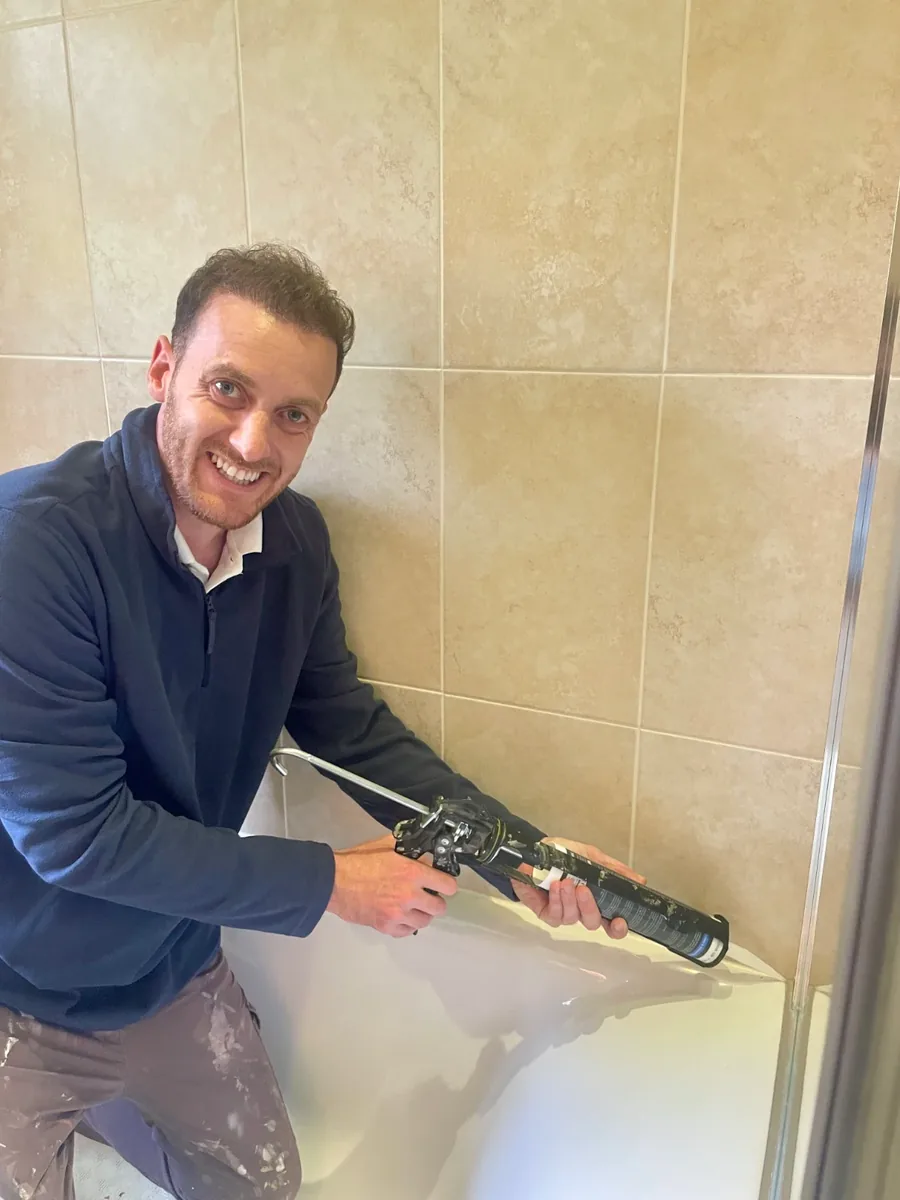
Do you need bathroom resealing in Brae?
Silicone does not last for ever. Daily water, heat and cleaning products take their toll over the years, so its life depends on how the room is used, cleaned and aired.
Any of these means the joints need attention:
- A bead that has pulled away from the tiles
- Two layers of silicone, both failing
- Black mould in the silicone that won’t clean off
- Leaking joints on a shower screen
Whether the job is in Brae itself or nearby, the right material for each joint matters as much as a neat finish.
What your quote should include
- Which colour the sealant will be
- How the surfaces are prepared before sealing
- Whether the sealant suits the joint
- Is the old sealant removed completely?
What bathroom resealing looks like in Brae
Brae is close to the coast. Near the coast, holiday lets and guest houses can see bathrooms used by one guest after another, and sealant and grout that work that hard wear out sooner. In Scotland, private landlords have to meet the Repairing Standard, which covers keeping fixtures and fittings in a reasonable state of repair. Tired, leaking sealant is worth putting right before a new tenant moves in.
In and around Brae, as anywhere, good bathroom resealing starts with a clean, dry, properly prepared joint.
Brae is in the Shetland Islands. Anywhere in ZE2, our applicators can take on bathroom resealing. Brae is one of 63 towns and villages in the Shetland Islands where we work for bathroom resealing.
Work in ZE2 works the same way as everywhere else we cover. Bathroom resealing is available to properties on Runafirth, Ladieside and Hevdaland and the roads around them. Neighbouring places we cover for bathroom resealing include Sullom (3 miles north), Scatsta (3 miles north-east), Voe (4 miles south-east), Firth (6 miles north-east) and Hogaland (7 miles north). Being one of the Shetland Islands’s larger places, Brae has homes, rented property and businesses of every kind. For island and remote addresses, a little more planning is needed, so let us know when you get in touch.
Around Brae
For a walk, there’s Houlls Water.
How the visit works
Most of a good job is in the preparation, so that is where we spend the time. Joints are cleaned back and dried before anything new goes in. All told, the work takes a couple of hours for one bath or shower, or most of a day for a full bathroom and kitchen. Somewhere like Brae may be a longer drive, and the journey is planned ahead. Mention tracks, gates, ferries or anything else about the route.
- First, each joint is checked for movement and signs of water.
- Every trace of the old bead is removed, including the thin smear on the tiles.
- The joint is cleaned, degreased and treated for mould.
- With the joint dry, and any bath loaded with water, a single bead of anti-fungal silicone is applied.
- We tool the bead to a neat finish and give you the cure time, generally around 24 hours.
How to prepare
- For business premises, tell us about site rules or sign-in
- Clear items away from the joints we’re working on
- Tell us if parking is tricky
Getting a quote
Need a quote? Please email us at info@mrmastic.co.uk and tell us about the job. You’ll know what we plan to do, and what it will cost, before any work begins.
Read more
Also in Brae
Surface by surface
Sinks & splashbacks
Splashbacks in glass, tile or acrylic meet the worktop in a long joint. We renew it in clear, white or a matched colour.
Shower trays & enclosures
Water often gets past the wall profile of a shower enclosure. It’s resealed along with the tray joints, sealing the side the enclosure’s instructions call for.
What affects the cost of bathroom resealing
Every job gets its own quote. These are the things that affect it:
- How many areas need sealing
- The old material and how stubborn it is
- The product the joint needs
- Whether the work is at height
Rather than a set price list, we look at what your job involves: the amount of work, the old material and the access. The price is agreed before we begin.
What we need to know
Before you ask for a quote, have a think about:
- Photos by email, if that is easy
- Any previous sealing or DIY work
- Where the property is
- The type of property
Call for a quick quote, or send an email if you’d rather. Tell us about the joints that need doing and we’ll explain what’s involved before giving you a price.
What happens if it’s left?
The difference in a professional reseal is mostly what you do not see: cutting out every trace of the old bead, cleaning, treating mould and letting the joint dry. Without that preparation, the new bead will not last. When the nearest tradesperson is a drive away, it’s tempting to leave a small leak, but water behind a failed seal does the most damage when nobody’s watching.
The cost depends on the size of the job, how hard the old material is to remove and access to the work. You will have a clear quote before any work starts, so you know where you stand.
Why Brae clients choose us
- Sanitary silicone with an anti-fungal additive in wet areas
- Every job guaranteed for a year
- You choose the colour before work begins
- 180+ five-star Google reviews
Work for landlords, hotels and businesses
We regularly work with letting and managing agents. Send the address, what’s needed and the access arrangements.
We also work for property managers and facilities teams in Brae and across the Shetland Islands. We can quote a run of properties together, and we’re fully insured for the work.
FAQs for Brae
Do you cover Brae for bathroom resealing?
Yes, Brae is within the area we cover. Our work covers the whole of Scotland. Just drop us a line at info@mrmastic.co.uk with a few details of the job, and we will send you a clear quote.
Is Brae within the area you cover?
Yes, Brae is covered. Our work covers the whole of Scotland, islands included, from towns to the smallest places. The journey is planned ahead, so it helps to know about access.
What should I tell you?
Just the basics: the address or postcode, what’s wrong and any access issues. After that, simply send an email to info@mrmastic.co.uk.
Are you an approved applicator?
Yes. ARBOMaster is the approved applicator scheme for Arbo sealants, and we’re part of it.
Will it make a mess?
Tidy work is part of the job. We protect what’s around the joints.
What colours of sealant can you use?
We can use white, clear or a colour to suit. On a worktop we colour-match where the joint shows.
Do you guarantee your resealing?
Yes. All our work comes with a 12-month guarantee.
Can I do it myself?
Sometimes. The key is preparation: remove all the old material and work on a clean, dry joint. We can always put it right if it fails.